This is part 2 of my series "A Beginner's Guide to Software Defined Networking (SDN) inside Proxmox" where we setup, configure and test the capabilities of the Proxmox SDN System. For part one, click here: https://bennetgallein.de/blog/proxmoxve-sdn-beginners-guide.
In this part, we want to start creating networks. We will start with a simple Bridge-Networks and connect two containers to it, enabling them to communicate with each other while also using DHCP to not set static IPs.
Prequisites
- A Proxmox Server
- A LXC Template which you want to use - I'm using Debian 12
Installation
If you - like me - installed Proxmox on top of an existing Debian 12 installation, you need to manually install some packages that are not in the default list in the Proxmox Documentation:
# apt install libpve-network-perl
Also make sure that your /etc/network/interfaces file contains the source /etc/network/interfaces.d/* line.
We also install everything we need for DHCP:
apt update
apt install dnsmasq
systemctl disable --now dnsmasq
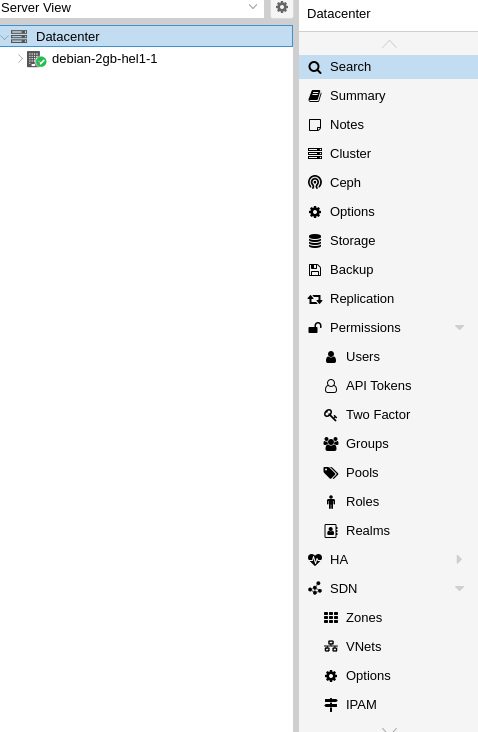
After now reloading the Proxmox GUI we should see the SDN Tab in the Datacenter Overview:
Create Zone
Next, we want to navigate to the Zones Tab and click "Add" and then select "Simple". Make sure to give your net a descriptive name (ID) and make sure to enable automatic DHCP by expanding the advanced options:

After that we need to create a new VNet, which is basically a network adapater:


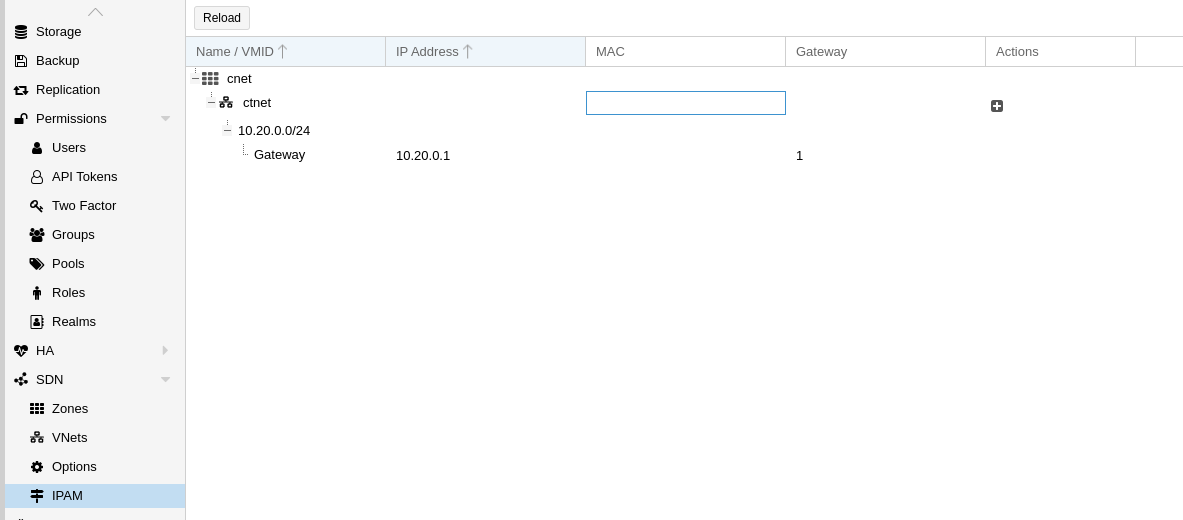
Immediately after applying, you can see that the IPAM tab now has some information. Currently this is limited to the Gateway we've set in the subnet, but we'll check back here once we've setup some containers.
Create CTs
We've created the SDN Zone and can now create our test-containers. I'll call them ct-1 and ct-2 in this article.
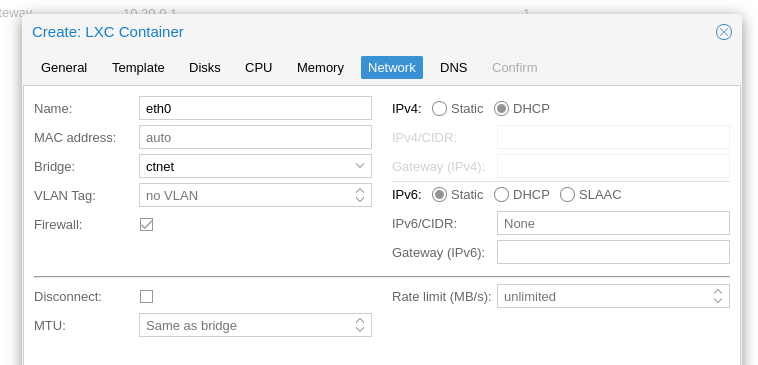
Go ahead and create a new container, during the creation you decide what bridge will be used by the network. Make sure to select the bridge of the vnet from the zone you've just created:
Testing
Now, when we check back to the SDN IPAM page, we can see something has changed:
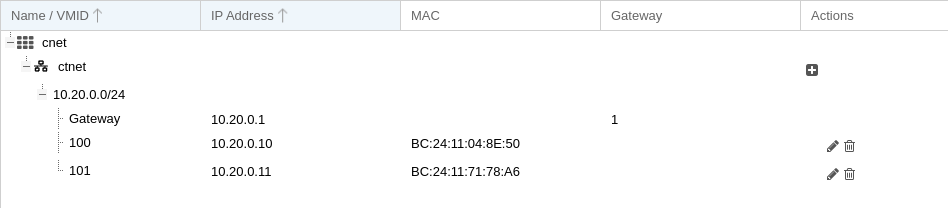
We see our two containers here! Since the containers requested their IPs via DHCP Proxmox knows what MAC and what IP they got, so they are displayed here.
Let's login to ct-1 and ct-2 and try to ping the other. On ct-1:
root@ct-1:~# ping 10.20.0.11
PING 10.20.0.11 (10.20.0.11) 56(84) bytes of data.
64 bytes from 10.20.0.11: icmp_seq=1 ttl=64 time=0.422 ms
64 bytes from 10.20.0.11: icmp_seq=2 ttl=64 time=0.133 ms
As you can see, we can ping! And with sub-ms time we can be sure that this is between the same server so we know our Bridge with DHCP is working fine!
Conclusion
In this post, we've enabled SDN on our Proxmox host and connected two container over a seperated bridge. We've enabled DHCP and observed how IPs are handed out by the Proxmox IPAM system.
References: